

There is something magical about dictation. Spoken words are rapidly turned to text. The instantaneous nature is pretty amazing, but the best thing is dictation takes the place of typing.
Whether you have a visual impairment, or not, typing on a tiny touchscreen keyboard is a tedious task. That is why more and more people are becoming dictators.
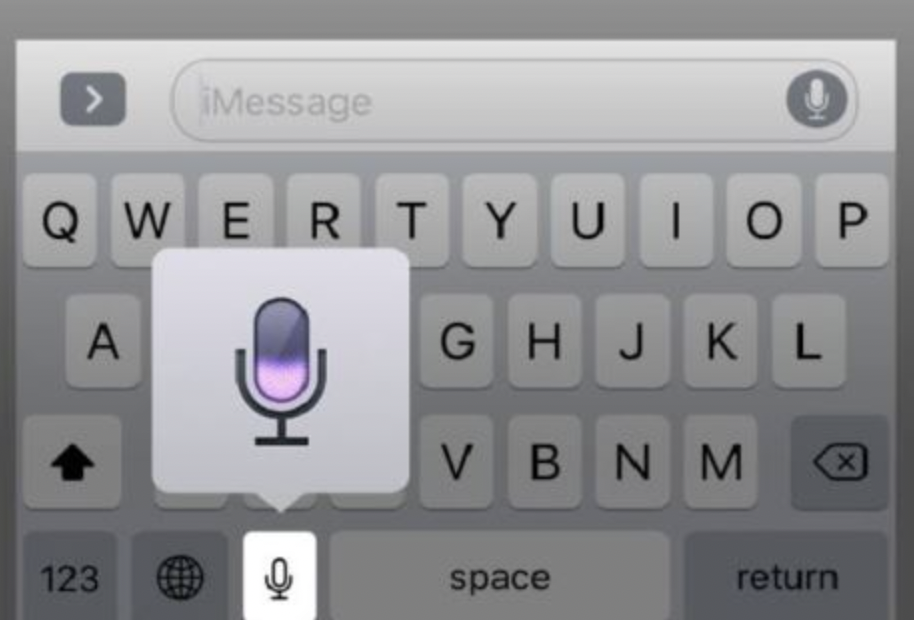
In Apple iOS devices, Dictation is available whenever there is a keyboard on screen. The Dictation button is the microphone icon at the lower right corner or left of the Space Bar, depending on device. If the microphone key is not there, first go to Settings and click General, next click Keyboard, now go to Enable Dictation and turn on.
Here are the steps for dictating with iPhone or iPad.
- Tap on the Dictation / microphone button below the keyboard and be prepared to start speaking following the single ding tone.
- Finish speaking and tap again, you will hear a second single ding and your spoken words will appear in the text field.
(With Apple’s VoiceOver screen reader use a two-finger double tap to activate Dictation, and a second two-finger double tap to stop, VoiceOver then reads the text aloud.)
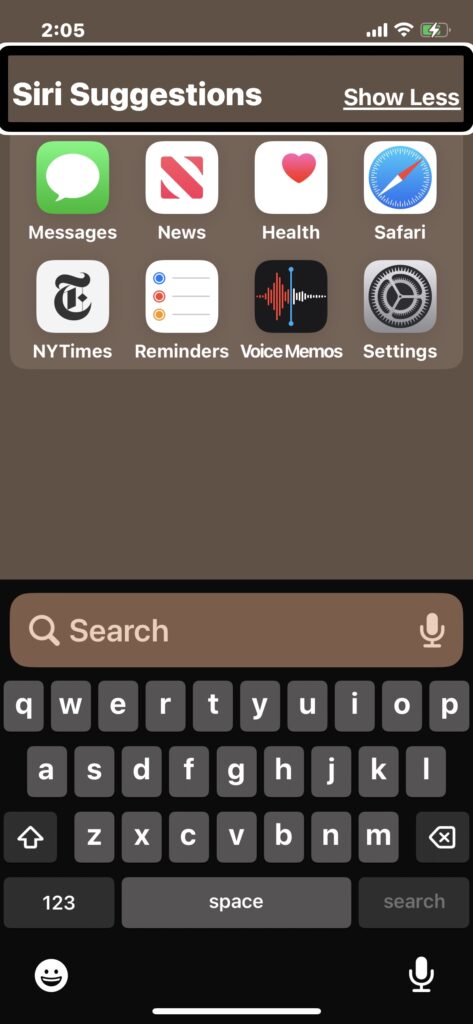
on search bar and below keyboard.
- Speak clearly for best results. Noisy environments will create conflict. Dictate one sentence at a time for accuracy. Correct errors on imperfect transcripts or delete all and try, try again.
- To include punctuation, just say so. Finish a sentence with a “period” or a “question mark.” Follow a salutation with a “comma“ or a “colon.” Also say, “new line,” new paragraph,” “all caps,” “apostrophe,” “hyphen,” or “exclamation mark.”
Practicing can actually be fun, so go ahead and do it. You’ll be a powerful dictator in no time!
Get steps for Android Talk to Write at Support.Google.com.
Previously published Feb 4, 2020 and updated Aug 8, 2023

